Dotted Frame Nail Art Tutorial
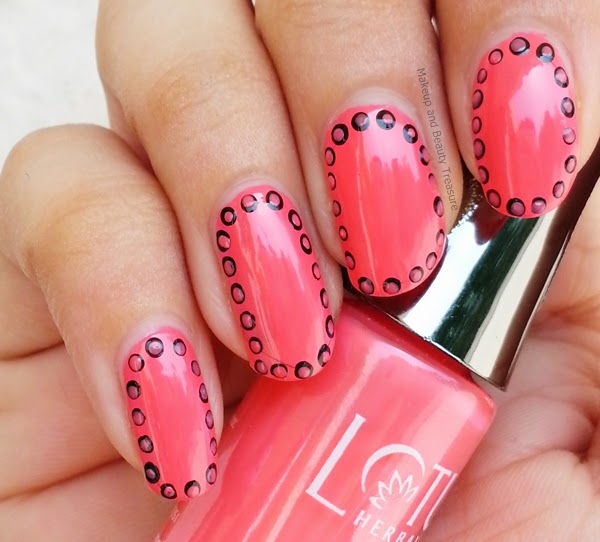
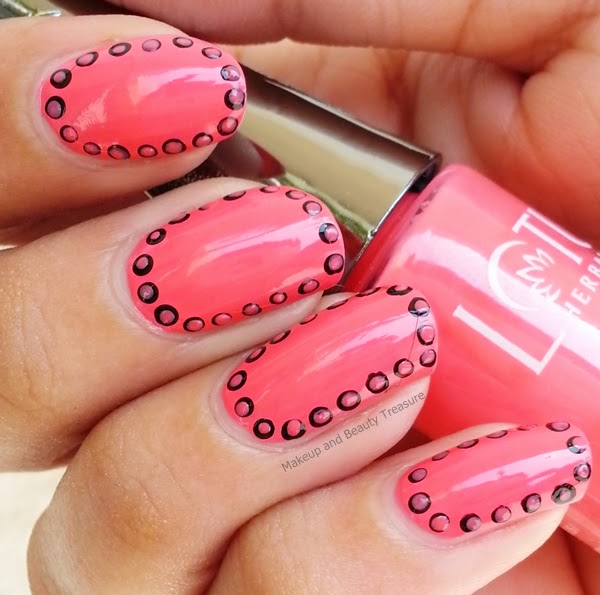
I have not done a nail art tutorial for a long time. I become really lazy in summers and really do not feel like doing anything. Recently my nephew got a dotted photo frame as a gift from one of my aunts. Although it was a bit colorful, I could not wait to create it on my nails. Polka dots nail art has always been my favorite. Today I am going to show you a tutorial on Dotted Frame Nail Art.
 |
| Dotted Frame Nail Art Tutorial |
Nail Art Tutorial:
 |
| Dotted Frame Nail Art Tutorial |
•Apply a base coat of your choice. Let it dry completely. Here I have used Lotus Color Dew Nail Enamel in Fairy Flare (Read review HERE).
•Take the number #4 nail art dotting tool and using the big point put dots around the edges of the nails using any color of your choice. Here I have used Maybelline ColorShow Nail Paint in Blackout (Review coming soon).
•Using the smaller point of the same dotting tool make double dots by putting coral dot over black dot.
•Your nail art is ready!
 |
| Dotted Frame Nail Art Tutorial |
Dotted Frame Nail Art is very easy to create and looks decent on nails. It would look fabulous and classy for office work. You do not need to be a nail art expert in creating this design. All you need is a nail dotting tool. I love polka dots on my nails and you can check out various my polka dots nail arts HERE.
 |
| Dotted Frame Nail Art Tutorial |
 |
| Dotted Frame Nail Art Tutorial |
Hope you will like it!
 |
| Dotted Frame Nail Art Tutorial |
Have you entered my international giveaway yet? If not enter soon HERE!
Stay pretty!
Megha